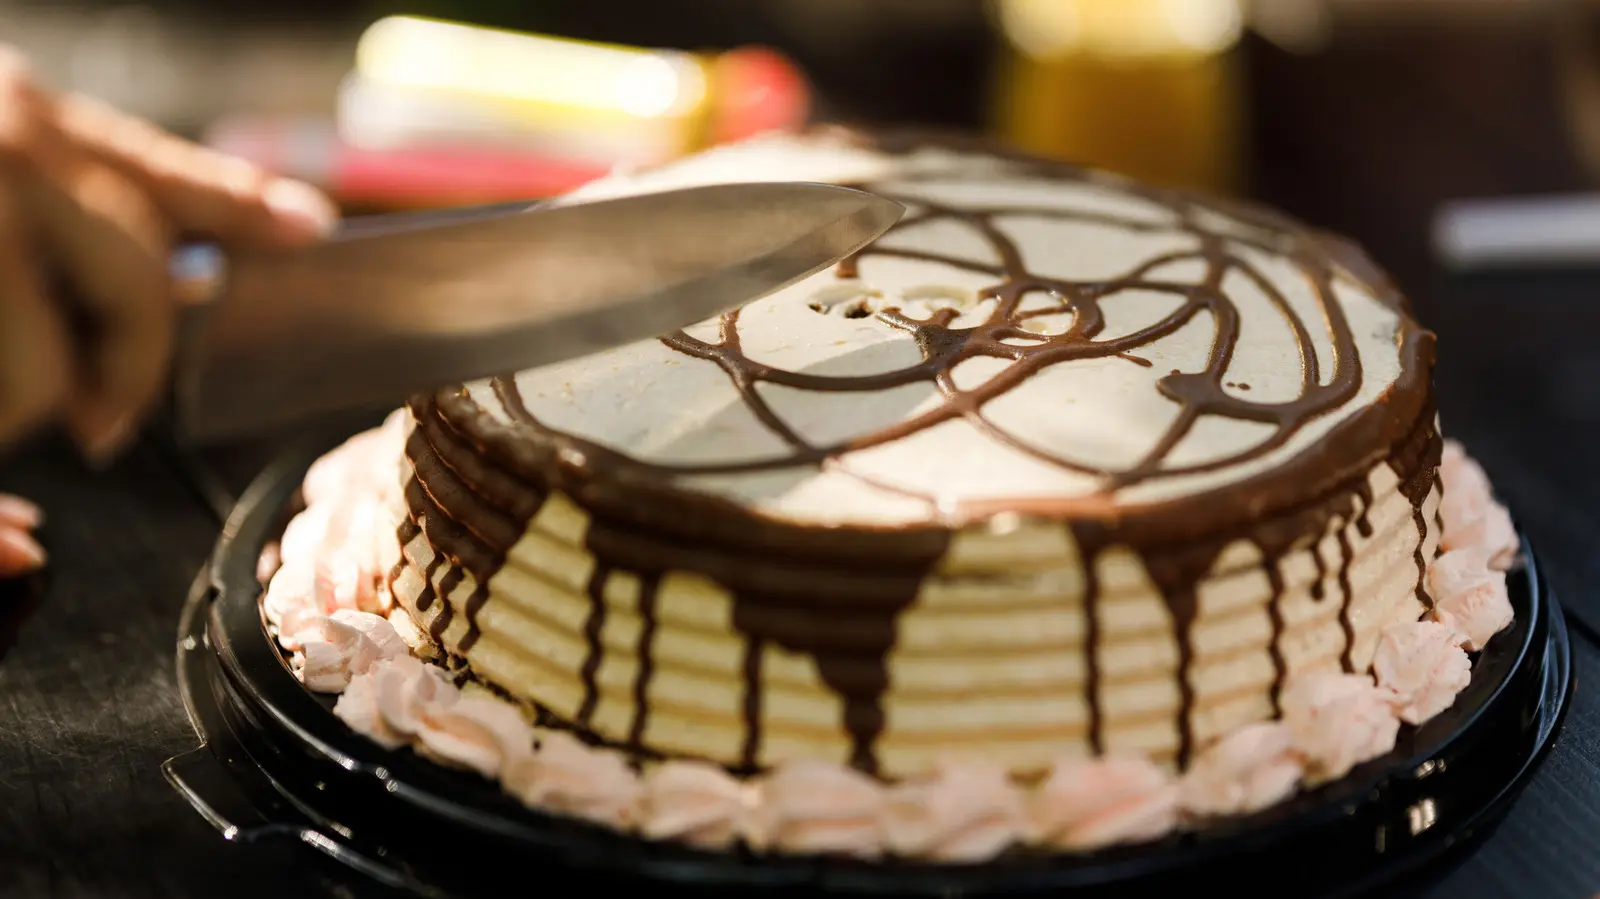
This Simple Knife Technique Creates Clean Cuts In Dessert Every Time
This approach works particularly well for desserts with high fat or sugar
Whether serving cake at a family gathering or presenting a delicate tart at a dinner party, achieving clean slices without crushing layers or smearing frosting remains a common kitchen frustration. Many home bakers struggle with knives that drag through soft textures, leaving behind crumbs and uneven edges that diminish the dessert’s visual appeal. A straightforward method involving blade preparation and cutting motion can transform this experience, ensuring each portion looks as polished as it tastes. The technique centers on warming the knife blade before use, which allows it to glide through dense or sticky desserts like cheesecake, fudge, or layered cakes with minimal resistance. By running the blade under hot water, drying it thoroughly, and making smooth, single-direction cuts—wiping and reheating between slices—the knife avoids tearing delicate structures.
Latest news
 Costco's Frozen Dumpling Lineup, Ranked From Least To Most Tasty
 Best stainless-steel frying pans 2026: expert-tested picks for searing, eggs and daily cooking
 Trader Joe’s First‑Time Shopper Guide: Must‑Try Items
 Panda Express vs P.F. Chang's: Which Orange Chicken Is Healthier?
This approach works particularly well for desserts with high fat or sugar content, where cold blades tend to stick and pull rather than slice cleanly. Why Heat Matters More Than Pressure Applying excessive force often worsens the problem, compressing the dessert and pushing filling out the sides. Heat reduces surface tension between the blade and the dessert, minimizing adhesion. Pastry chefs note that a warmed blade cuts through ganache or buttercream almost like butter, preserving distinct layers. The key is consistency: reheating after every one or two slices maintains optimal temperature, especially during longer serving sessions. How Do You Know If the Knife Is Hot Enough? The blade should feel warm to the touch but not scalding—typically around 120 to 140 degrees Fahrenheit. Testing it briefly on the wrist, similar to checking baby bottle temperature, ensures safety and effectiveness.
If steam rises slightly when the blade meets the air, it’s ready
If steam rises slightly when the blade meets the air, it’s ready. Using a chef’s knife or offset spatula works best due to their width and stability, though even a paring knife can suffice for smaller treats. Beyond aesthetics, clean cuts improve portion control and reduce waste, as less dessert sticks to the blade or gets mangled during serving. For special occasions like weddings or holidays, this small adjustment elevates presentation without requiring special tools. Over time, the method becomes second nature, turning a frustrating task into a reliable step in dessert preparation. Frequently Asked Questions Can this technique be used on frozen desserts? Yes, but let the dessert sit at room temperature for 5–10 minutes first to avoid cracking. A warm knife still helps prevent shattering when cutting semi-frozen items like ice cream cake. What if I don’t have access to hot water during service?
Dip the blade in a container of hot water kept nearby, or use a kitchen torch briefly on the metal side—avoiding the handle—to reheat it quickly between cuts. Does the type of knife material affect results? Stainless steel conducts heat well and is ideal. Avoid non-stick coated blades, as the coating can degrade with repeated heating and may transfer to food.
Content written by Isabelle Fontaine for fancy-meals.com editorial team, AI-assisted.