
How to Cook Dried Chickpeas for Hummus and More
Why Soaking Makes a Difference in Texture
Chickpeas are a versatile pantry staple that can be transformed into creamy hummus, crispy falafel, or hearty side dishes. Using dried chickpeas instead of canned offers better texture and flavor control, making them ideal for homemade recipes. A simple soak and cook process unlocks their full potential, whether you're mashing them for dip or keeping them whole for salads and stews.
Latest news
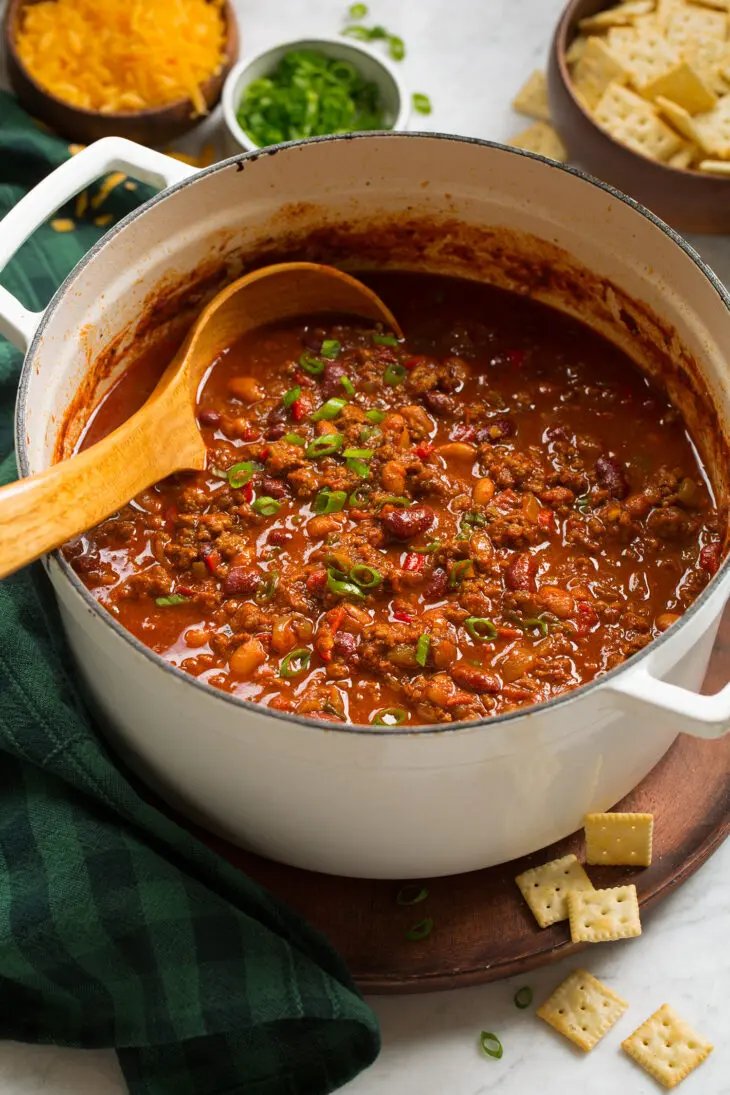 The Ultimate Homemade Chili Recipe for Cold Weather
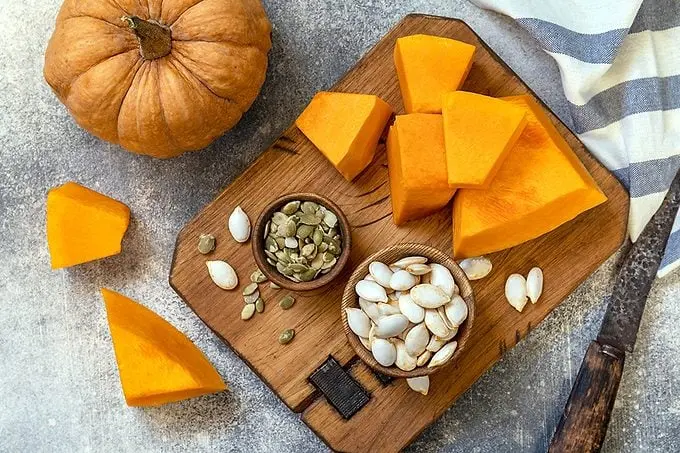 The Nutritional Power of Pumpkin Beyond Seasonal Desserts
 A Culinary Journey Through the 30th Epcot International Food and Wine Festival
 Burger King Unleashes Hello Kitty Kids' Meal with Ultra-Rare Golden Collectible
To prepare dried chickpeas, start by sorting through them to remove any debris or stones. Rinse thoroughly under cold water, then place in a large bowl and cover with plenty of water—about three times their volume. Let them soak for at least eight hours or overnight. After soaking, drain and rinse again before transferring to a pot. Cover with fresh water, bring to a boil, then reduce heat and simmer for 60 to 90 minutes, or until tender but not mushy. Skim off any foam that rises during cooking for a cleaner result.
Soaking dried chickpeas rehydrates them evenly, which reduces cooking time and helps prevent uneven softness. Without soaking, chickpeas may remain hard in the center even after prolonged cooking, leading to a gritty texture in hummus or falafel. The soaking process also begins to break down complex sugars, making them easier to digest. For best results, use cold water and avoid adding salt or acidic ingredients like lemon juice or vinegar during soaking, as these can toughen the skins.
How Long Should You Cook Chickpeas for Hummus?
For silky hummus, chickpeas need to be cooked until very soft—so soft they can be easily mashed between your fingers. This usually takes about 90 minutes of simmering after soaking. Some cooks add a pinch of baking soda to the cooking water, which helps break down the skins and yields a smoother mash. Once cooked, drain the chickpeas but reserve a cup of the cooking liquid; this starchy water is key to adjusting the consistency of hummus without diluting flavor. Let them cool slightly before blending with tahini, lemon juice, garlic, and olive oil.
The effort of cooking dried chickpeas pays off in superior taste and texture compared to canned versions. They absorb flavors more readily during cooking and hold their shape better in dishes like stews or grain bowls. With a batch of properly cooked chickpeas on hand, you can whip up hummus in minutes, form falafel patties, or toss them into salads for added protein and fiber. Mastering this basic technique opens the door to countless nutritious, satisfying meals rooted in simple, wholesome ingredients.
Frequently Asked Questions
Can I cook chickpeas without soaking them first? Yes, but it will take significantly longer—up to two hours or more—and the results may be unevenly cooked. Soaking is strongly recommended for consistent texture and reduced cooking time.
Is it necessary to remove the skins after cooking for hummus? Removing the skins can make hummus even smoother, but it’s not required. If you’ve cooked the chickpeas until very soft and use a good blender or food processor, the skins will blend in finely enough for a creamy result.
How should I store cooked chickpeas? Cooked chickpeas keep well in an airtight container in the refrigerator for up to five days. For longer storage, freeze them in portioned bags with a little cooking liquid to prevent drying out; they’ll last up to three months.
Content written by Henry Cross for fancy-meals.com editorial team, AI-assisted.